Climbing Slieve Binnian from Carrick Little (for novice hikers)
Would you like to sponsor this article?

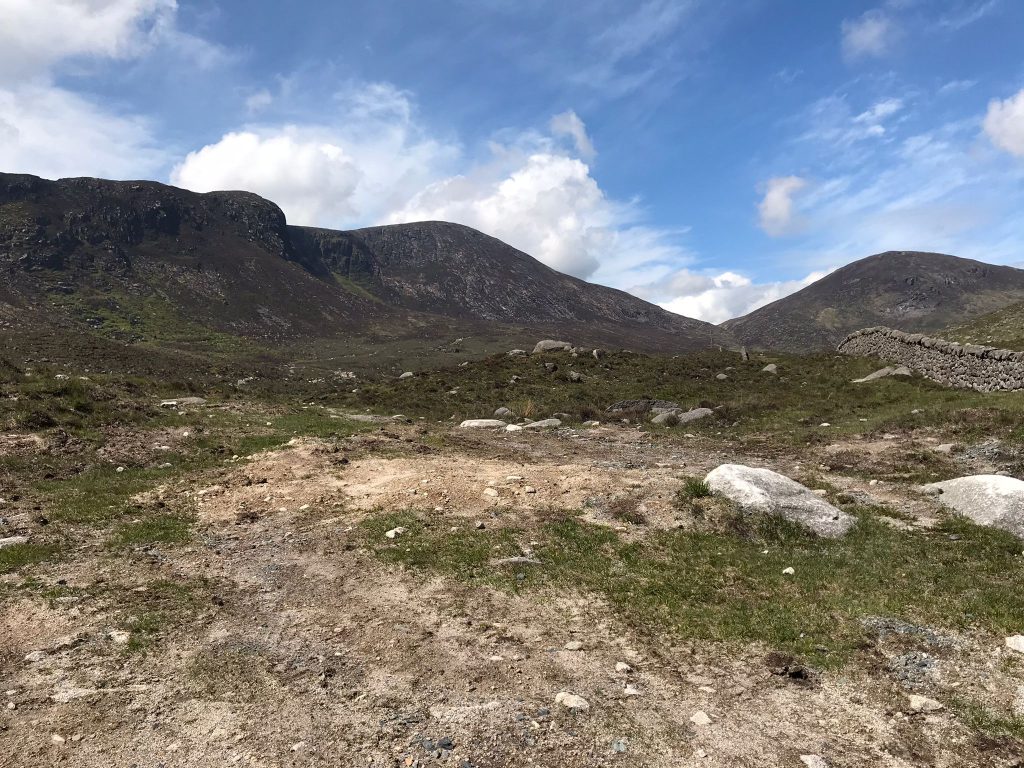
This is a looped trek taking in Slievemoughanmore, starting and ending at Sandy Brae, which is accessible via the Tullyframe Road near Attical. A quick search on Google Maps will get you there, but be warned that Sandy Brae itself is riddled with potholes and hidden dips, so your vehicle’s suspension will likely get a good workout. Take it easy until you reach the parking area at the end of the road (still under construction on Google Street View).
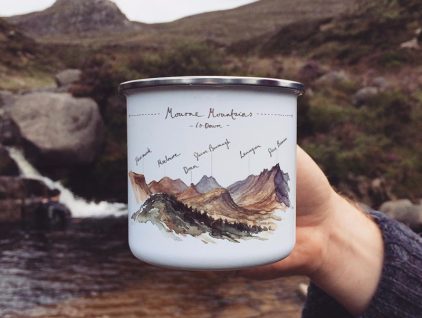
SHOP: Mourne Mountains Illustrated Enamel Mug
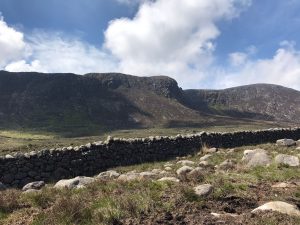
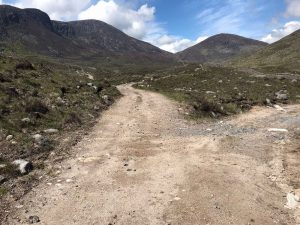
Find Out MoreUse the footbridge to cross the stream and start along the track in the general direction of the distant Windy Gap. You’ll pass between some fields before entering the open expanse of the valley. Here, keep to the obvious stony track alongside the river and continue towards the Windy Gap, passing between Slievemageogh and Pigeon Rock on your right, and the sheer slopes of Eagle Mountain on your left, with Shanlieve beyond it.

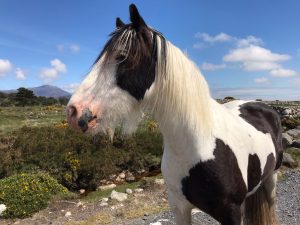
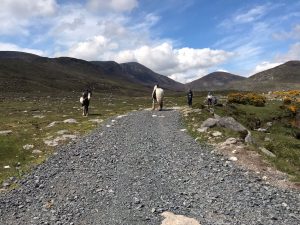
Sidenote: Our group completed this hike on a warm May morning (stiflingly-warm, in fact, because in spite of its name, the valley was devoid of even the slightest puff of wind) and were accompanied on part of the route by two very friendly horses, who plodded along with us for several kilometres until a wall crossing forced them to turn back.
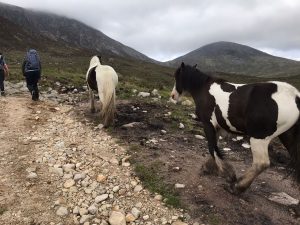
Alas, even the sturdy stiles of the Mourne Mountains weren’t made for hooves. Always be kind and sensible around horses you come across in the mountains, and report any sightings to Mourne Horse Watch so they can help get them the care they need, especially in winter.
Back to the route. Continue following the track on its gentle ascent in the shadows of the Eagle Mountain cliffs (look out for the Great Gully on your left, the Western Mournes equivalent of the Devil’s Coach Road), keeping the river (and now Slievemoughanmore, growing in stature) on your right. The river forks at the base of the mountain, and will appear further and further below you as you near the col between Eagle and Slievemoughanmore up ahead.
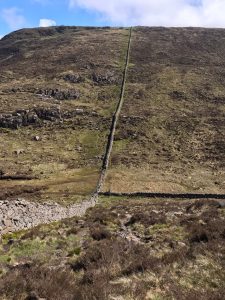
Here, the track drops abruptly to meet Batt’s Wall, where you can choose to go left and ascend Eagle (638m), or turn right and climb Slievemoughanmore (559m). Either way, it’s a steep hike to the top, so be prepared to burn some calories on the ascent.
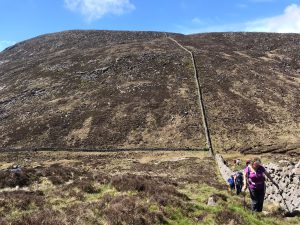
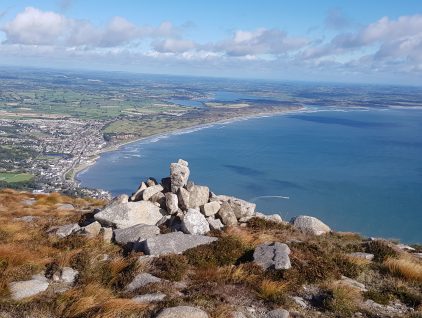
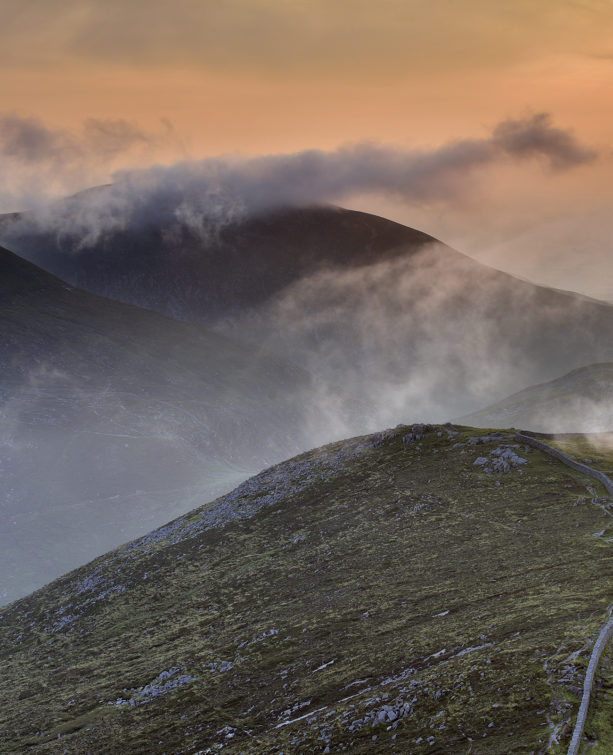
For the purposes of our route that day, we chose to climb Slievemoughanmore. If you opt to do likewise, follow Batt’s Wall down the slope, hop over the stile at the bottom, and begin your ascent. It’s a fairly short but steep climb – take plenty of breaks and enjoy the views as you go. You’ll be able to spot Pierce’s Castle to the west and Kilkeel to the south-east; we were fortunate enough to tackle this hike on a sunny day and the views towards the Irish Sea were fantastic.
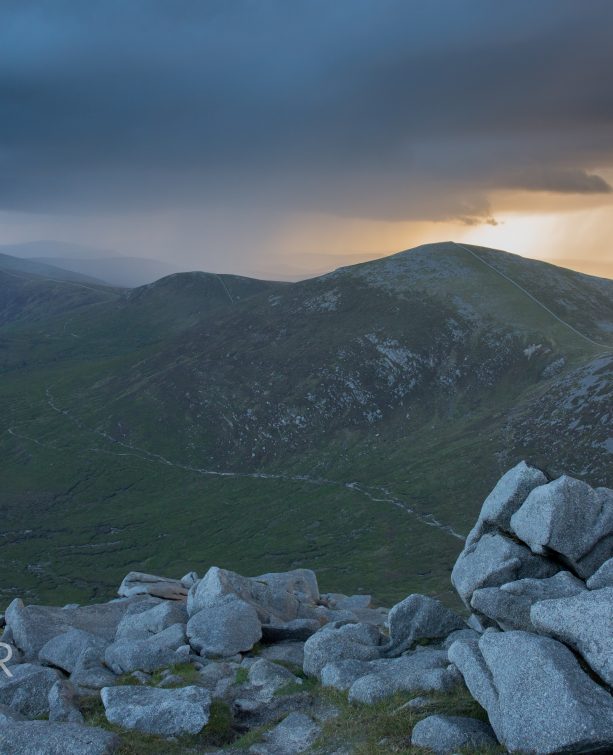
The summit of Slievemoughanmore is fairly featureless but offers superb 360-degree views of the Western Mournes.
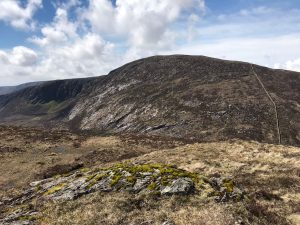
Once you’re done grabbing some snaps, continue following Batt’s Wall down the other side of the mountain until it levels out at another stile. Pigeon Rock is straight ahead, but you’re now going to turn right and follow Pigeon Rock river around the base of Slievemoughanmore. Take care at this stage as there’s no real defined path and you’ll find yourself tramping through boggy grassland until the river eventually intersects another stony track.

It’s now a straightforward walk back, with Pigeon Rock river on your left and the impressive bluffs of Eagle across the valley on your right.
The track finally reconnects with the trail you started on, which you can follow all the way back to the parking area.
READ: Leganabrachan, Millstone and Thomas: Donard’s Seaside Bodyguards
Find Out MoreThis is a 10km route with around 500m of elevation gain. It took our group just over 4 hours to complete at a leisurely pace and, aside from the steep climb up Slievemoughanmore and the brief trek across the boggy area at its base, presented no real difficulties. And as an added bonus, our horsey pals met us again towards the end of the route.
A highly recommended route for all hikers with a decent level of fitness looking for something off the beaten track.
Hi, I’m David: creator of Trek NI, husband, Christian, dog-owner, Liverpool fan, watcher of movies, drinker of caffeine. Not in that order.
Climbing Slieve Binnian from Carrick Little (for novice hikers)
Denvir’s of Downpatrick: The Perfect Base for Walkers and Explorers in County Down
5 Outstanding Late Winter Hikes in the Mourne Mountains
Willowtree Glamping: a Romantic, Rural Retreat in the Mournes
 Belfast,Photography
5 scenic walks around Lisburn
 Mourne Mountains
Bearnagh: Chased the sunset, caught the rain
 Mourne Mountains
Camping in the High Mournes
 Fermanagh and Tyrone
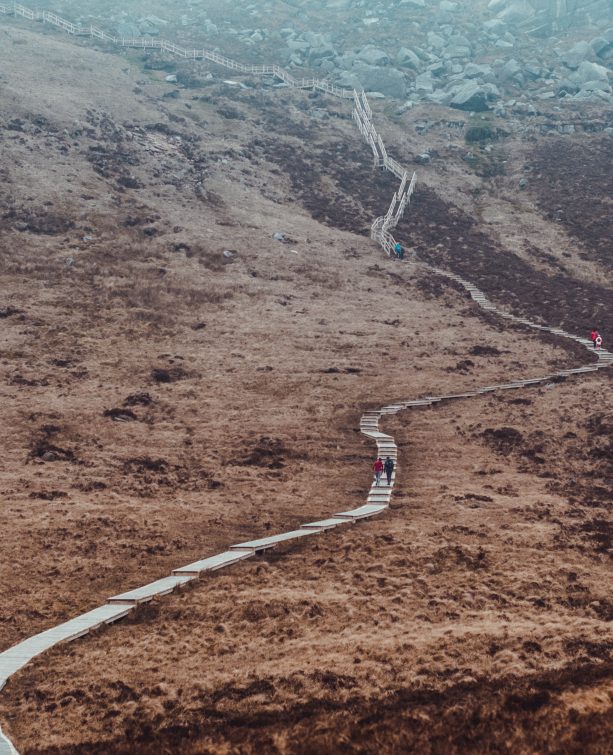
Cuilcagh: Stairway to Heaven
 Features
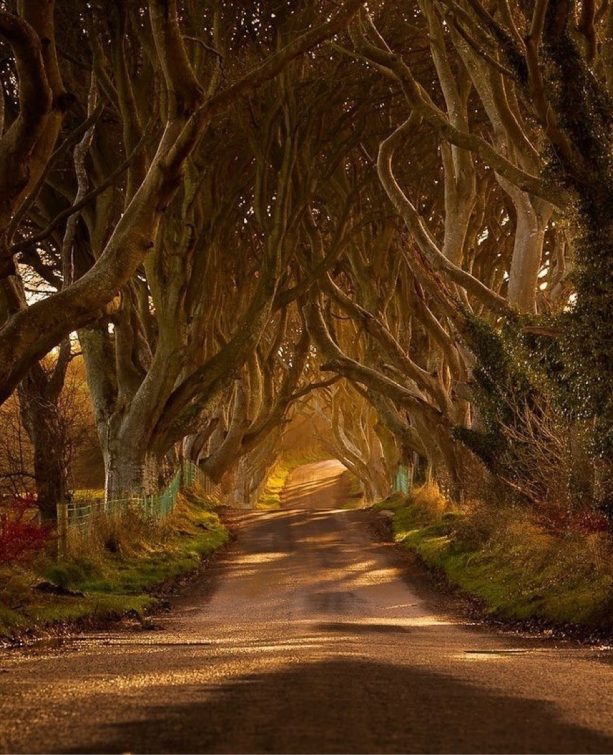
Every Game of Thrones Location in Northern Ireland
 Mourne Mountains
Hen and Cock Mountains
 Mourne Mountains
Leganabrachan, Millstone and Thomas: Donard’s Seaside Bodyguards
 Mourne Mountains
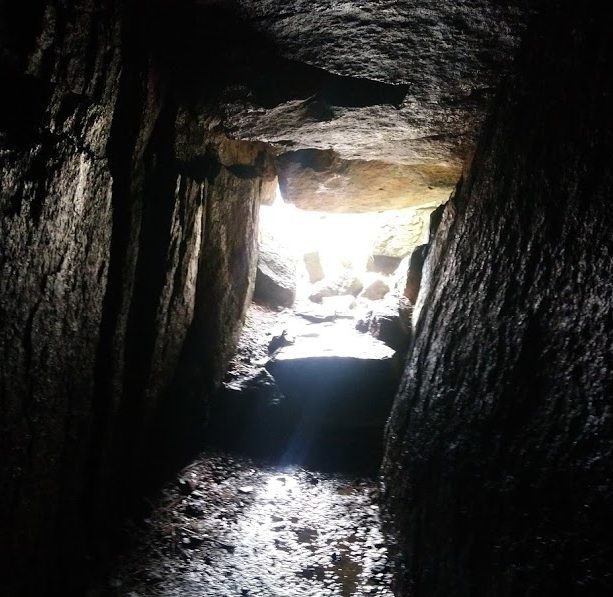
Percy Bysshe and Cove Caves