Climbing Slieve Binnian from Carrick Little (for novice hikers)
Would you like to sponsor this article?

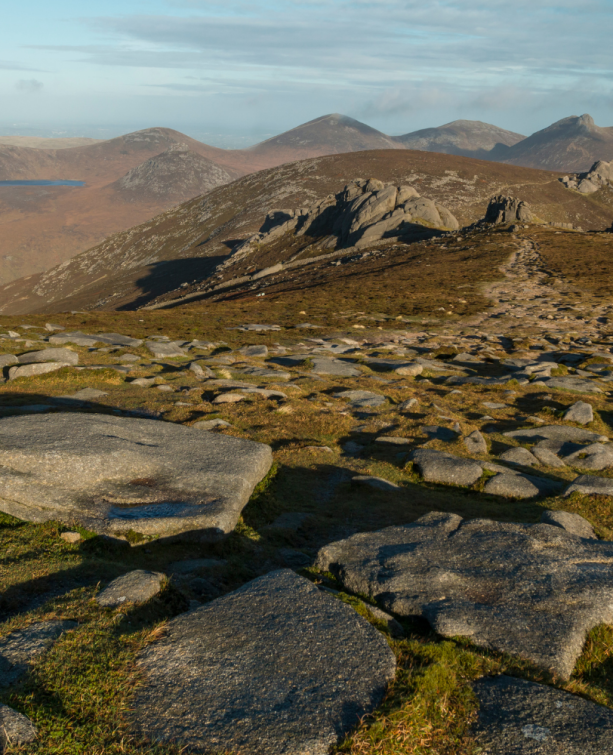
The Denis Rankin Round, named after Mournes mountain running legend Denis Rankin, is a 24-hour challenge summiting all the peaks above 400m in the Mourne Mountains. The route is approximately 90km long with 39 peaks and a total elevation of 6,200m.
The Denis Rankin Round starts and finishes at Donard Car Park in Newcastle and can be completed clockwise or anti-clockwise.
“The round” is split into five sections, with section three and four taking in the 15 peaks in the Western Mournes, for a route that is approximately 32km long and features 1,700m of climbing. Stage three and four make for a long-looped route, taking in a variety of terrain – bog, forest trails and open hillside – whilst offering a range of fantastic views throughout. The route also affords you the chance to visit some of the lesser-explored areas in the Mournes.
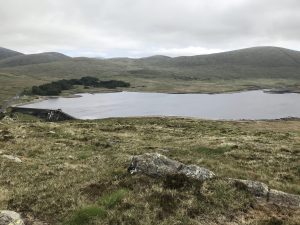
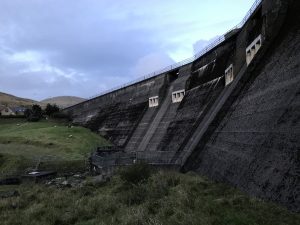
Stage 3 starts at Deer’s Meadow, in the valley between Slieve Muck and Pigeon Rock Mountain. Stage 4 ends at the Spelga Dam car park. When completing this route, I like to park at Spelga Dam car park and walk along the Kilkeel and Moyad road to the Stage 3 start point at Deer’s Meadow, a 2.5km walk on the main road. Alternatively, you could park at Deer’s Meadow and walk from Spelga Dam Car Park back to your car at the end of the hike!
The route detailed here is a looped trail taking in both stages. You could, however, break this route in two with two cars, parking one at Spelga Dam Car Park and the other at the base of Slievemartin in Kilbroney Park. This would allow you to do stage 3 or 4 separately, which are both approximately 16km long.
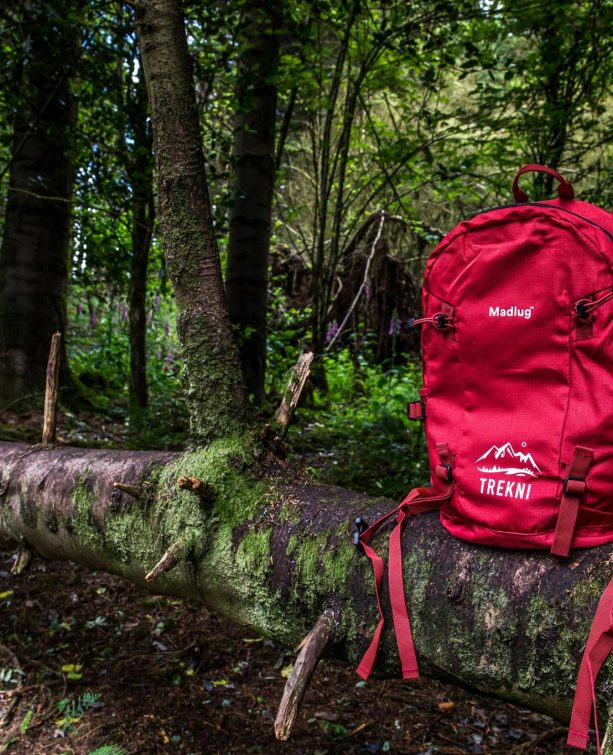
SHOP: Eco-friendly, cosy hoodies made from 100% organic cotton
Find Out More
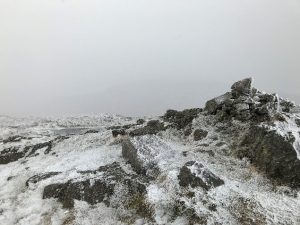
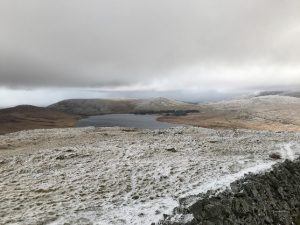
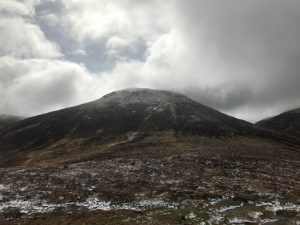
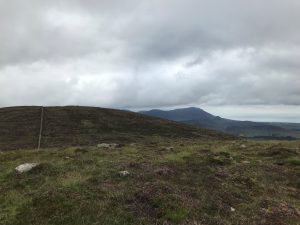
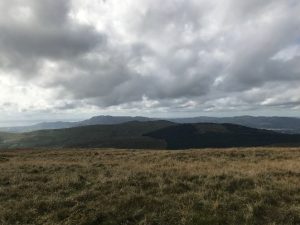
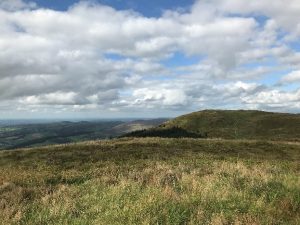
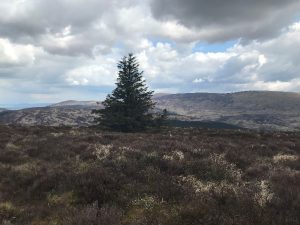
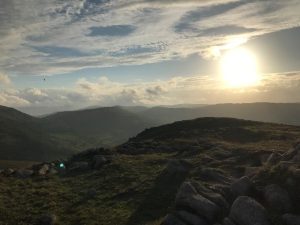
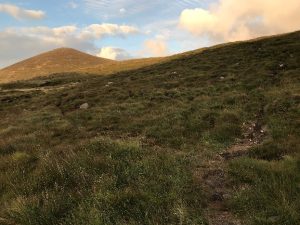
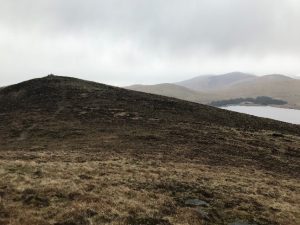
From Deer’s Meadow, the first peak is Pigeon Rock (534m). The Western Mournes are generally quite wet and boggy and the slopes of Pigeon Rock live up to this billing. Following Batts Wall (both sides of the wall are equally boggy) takes you to the top of Pigeon Rock after just over 1km. The summer offers great views over Spelga Reservoir on a clear day. After Pigeon Rock you continue along the wall descending into the valley of the Rowan Tree River at the 2km mark. Next up is Slievemoughanmore (559m), again keeping to the wall for a short but punchy climb up to the summit after about 3km (total).
From the summit of Slievemoughanmore, you depart the wall for the first time, heading northwest (320o) to your right-hand side as you climb Slievemoughanmore, towards Wee Slievemoughan (428m). Take care as you descend here, it is initially quite steep and there are little to no trails aside from a few sheep paths.
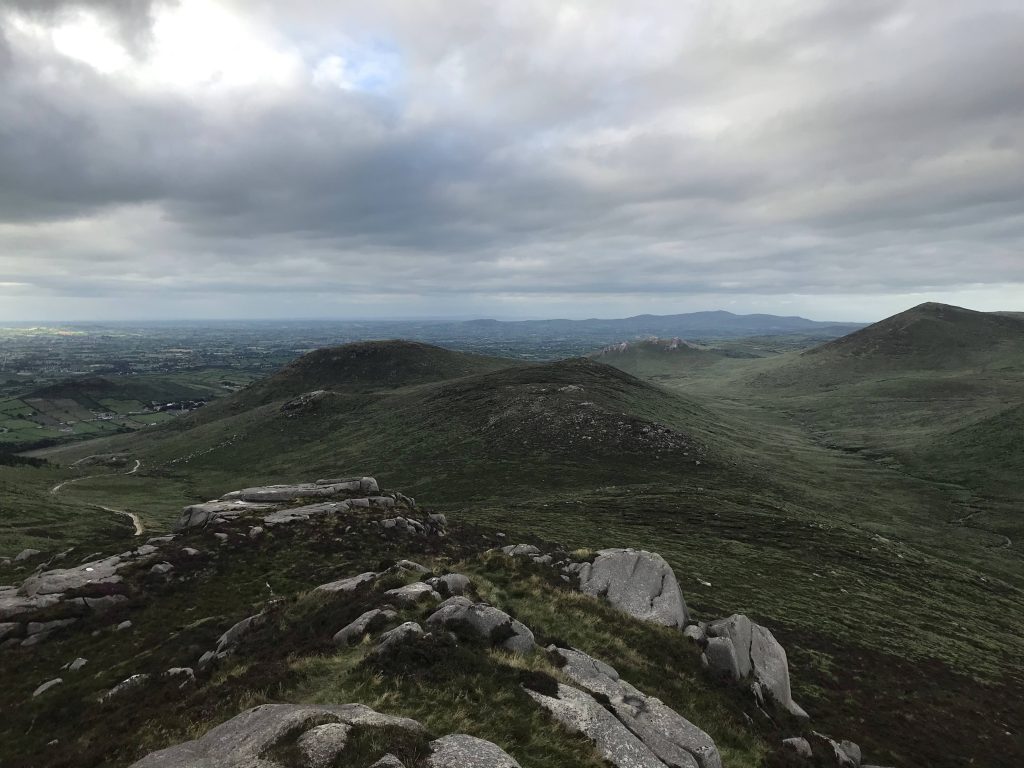
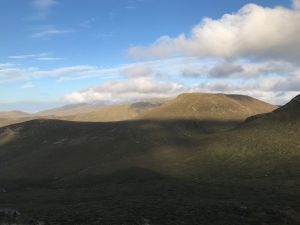
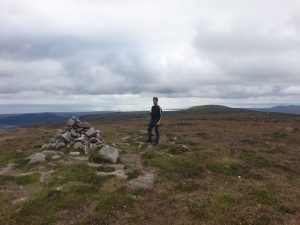
The descent grades out into some wet ground before a very short climb up to the top of Wee Slievemoughan. On a clear day you can get great views from here due to its central location within the Western Mournes. Within a few hours you will be back crossing each of the peaks you can see to the north as you make your way towards the end of Stage 4!
From Wee Slievemoughan, the next peak is the highest of the hike, Eagle Mountain (637m). The most direct route is to head back to Batts Wall at the Windy Gap. From Wee Slievemoughan, take a south southeast (170o) bearing, aiming for the low point to the right of Slievemoughanmore as you look at it from Wee Slievemoughan. There are some loose trails here but its largely boggy with a lot of peat hags to navigate before you reach the Windy Gap at about the 5km mark.

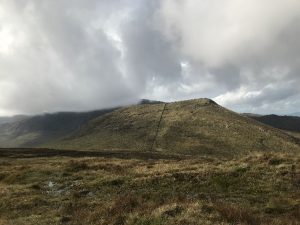
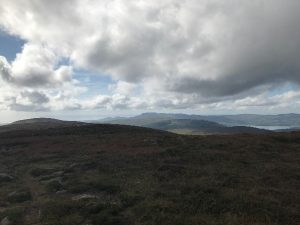
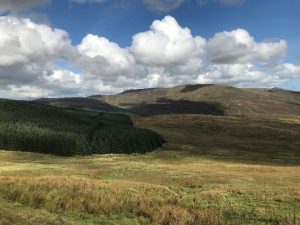
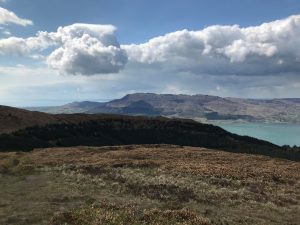
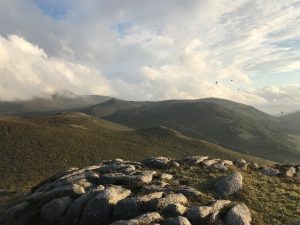
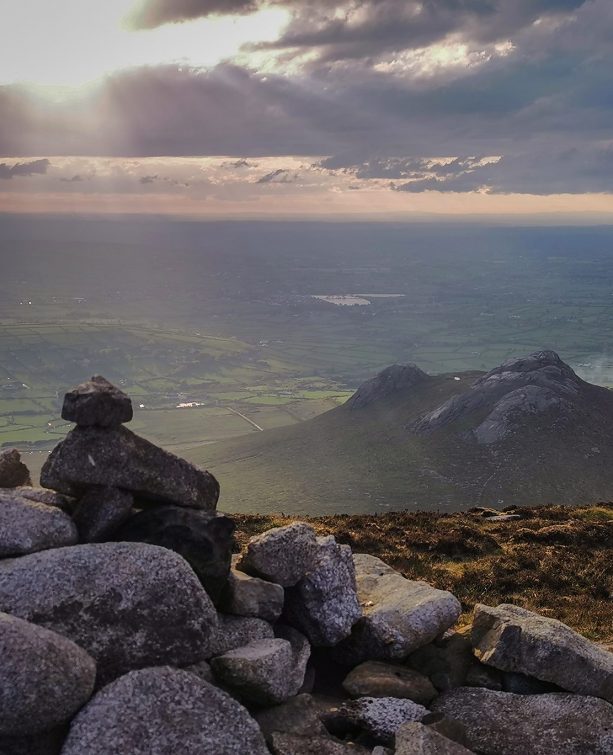
From the Windy Gap, follow the wall up to the top. Personally, I find it easier to climb the right-hand side of the wall, but either way, the climb up Eagle Mountain is a steep one! The climb is definitely worth it, with the summit offering views over Carlingford Lough to the southwest and the high Mournes to the east. After Eagle Mountain, continue along the wall for a short descent and climb to the peak of Shanlieve (626m). At this point you have about 7km completed.
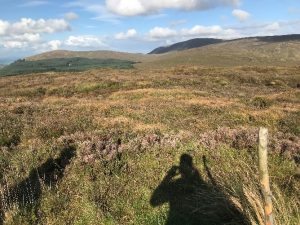
After Shanlieve, it’s time for your second departure from the wall and the beginning of the lesser known tracks of the route as you head for Finlieve (578m). Navigating from Shanlieve to Finlieve can be tricky even in perfect visibility, taking a south-southeast bearing (190o) its approximately a 2km trek across relatively flat and featureless plateau terrain with lots of peat hags. There are some sections with stony trails however, it’s inevitable you’ll have to navigate through the peat. There are some evergreen trees dotted along the plateau that can be useful as a bearing guide, but care should be taken with navigation, particularly in poorer weather.
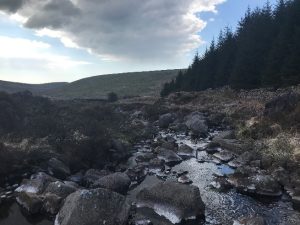
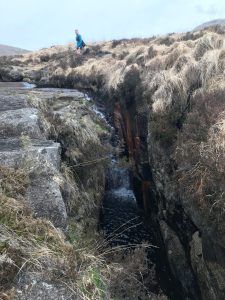
Once you have reached Finlieve, the next peak is Slievemeen (471m), approx. 5km to the southwest of Finlieve. The stretch from Finlieve to Slievemeen must be one of the least trodden areas in the Mourne Mountains, with the valley more often than not populated by sheep and cattle enjoying the solitude. Taking a southwest bearing (230o), dropping into the valley for 2.25km and aiming for the corner of Rostrevor forest. Between here and the summit of Tievedockaragh, you will be in and out of Rostrevor Forest, utilising its paths as respite from the soft boggy ground and the forest edge, corners and trails as markers. Just before reaching the corner of the forest you will have to step over a few rocks to traverse the Cassy Water.
After crossing the stream and standing at the corner of the forest, you will see a wall running along the edge of the forest up the hill. Leaving the stream behind you, head up keeping the wall on your right and the open hillside to your left. Follow the wall along the edge of the forest, trudging through the wet ground and long grass for about 500m until you come to a gate in the wall on your right.
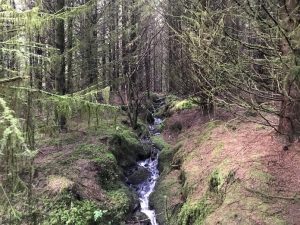
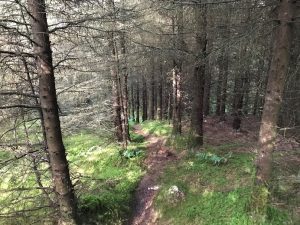
At this point you’ve a choice, you can continue along the hillside keeping the wall on your right, however, the high grass and boggy ground make it extremely slow going. Personally, I prefer to nip into the forest here to get a break from the heavy ground. The forest trail is narrow but distinct and gradually widens as you venture deeper into the forest, after 200m you come to a wider path at a T-junction, take the left turn. Follow the meandering and slowly climbing trail for approx. 700m, before you come to a fork in the path, keep left on the trail and after another 600m before you exit the forest and return to open hillside.
Upon leaving the forest it’s a relatively short but steep climb, the steepness blocks the view but keep heading along a southwest bearing (220o). You will soon see two aerial masts, keep heading for the one on your left, upon reaching the mast, follow the track in front of it down the slope. On a clear day Slievemeen will be very obvious in front of you to the left with its “twin peak” Slievemartin to the right. However, if your visibility is limited; after about 300m you will come to a fork, keep right here, and continue. After another 100m you come to a second fork, take the left hand option here and continue on the path which will take up straight up to the top of Slievemeen, you will have to cross a small fence on your right to reach the summit.
After Slievemeen it’s on to Slievemartin (485m). On a clear day the path to Slievemartin is very obvious, to your right as you climb Slievemeen. But if the visibility is poor, stay on the summit side of the fence and follow the fence initially back the way you came up before the fence veers down to the left with a clear path beside it. Follow this path down to the col between Slievemeen and Slievemartin.

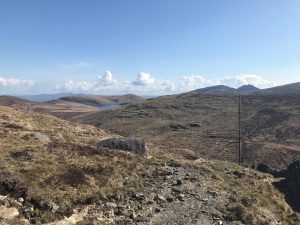
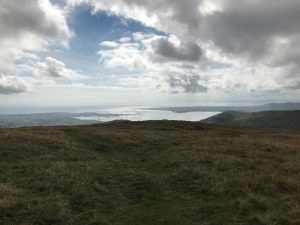
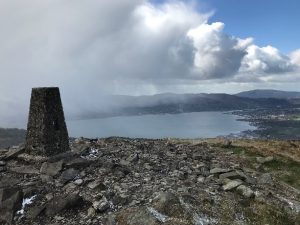
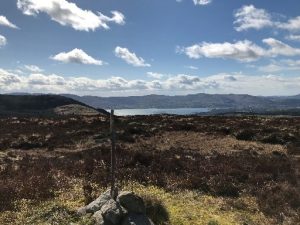
After the col, continue along the fence line. It’s a relatively short (500m) but steep hike brings you to the top of Slievemartin. Slievemartin has become an increasingly popular hike lately and it doesn’t disappoint, overlooking the village of Rostrevor and offering some great views over Carlingford Lough and of the Cooley Mountains. The Slievemartin summit marks the end of Stage 3 of the Denis Rankin Round and the beginning of Stage 4, so just about 16km done and only another 16km to go!
*If you have opted to split the route in two, you can descent through the forest into Kilbroney Park here or if you are just doing Stage 4, Slievemartin would be your starting point*
After Slievemartin, head back towards to the other aerial mast, very quickly you come upon a fence, cross the stile, take a left and follow the fence line, almost immediately the path drifts off to the right from the fence line, take this and head for the obvious gap in the forest, about 800m away at a north northeast bearing (15o). There are some sheep trails here but it’s largely a case of finding your own route through the long grass!
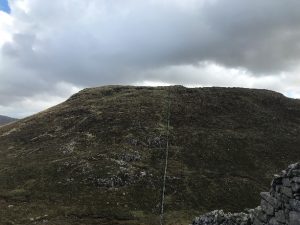
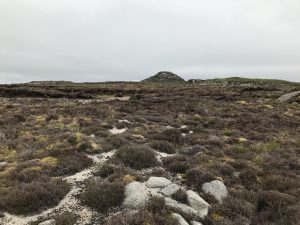
Once you reach the gap, you have to traverse a fence and then there is very narrow path through the heavy, boggy long grass that takes you slowly up to Crenville (460m). Crenville tends to get a bad rap amongst Denis Rankin Round enthusiasts, however once you accept the long grass and the bog, it’s not a bad little climb! As you progress along the path through the vegetation, the incline to the top of Crenville on your left becomes more obvious, after about 500m leave the path to the left and trudge up through the heather to reach the top of Crenville. The top of Crenville is very non-descript and is marked with a rather underwhelming bamboo stick attached to piece of wood!
After summiting Crenville the next up is Slievemeel. There is a very loose trail that heads in a northwest bearing (330o), continuing in the direction you arrived at the summit from, the ground is very boggy and it’s easy to lose sight of the track, so take care. Once you begin to descend there is a corner of the forest in front of you with a rough trail to the corner. Continue along the bearing and head for this corner. Upon reaching the corner there is a very narrow trail into the forest, follow it for barely 20m and it veers slightly to the right. Take care as the forest can be quite thick and make the trail difficult to see.
Continue following the track and take care as it does cross one of the Rostrevor bike track routes. After 200m you will reach a wider forest trail, take a right turn and continue on this track. After another 250m you reach another T-junction, again take the right turn and continue on the trail for about another 1km when you reach a T-junction at the edge of the forest.
Take a left and almost immediately on the right there is a bike trail crossing stile. From here you have two options; either head straight up at a 10o bearing, there isn’t a trail as such this way and its quite heavy grass, so it is slow going. Alternatively, I prefer to follow the bike track, however, ensure you don’t walk on the bike track as mountain bikers do have right of way! After about 500m just before the bike track re-enters the forest, you have to leave the comfort of the trail and head back into the long grass.
Take a right off the trail and head up, at an easterly bearing, there are some boulders and loose trails on the steep but short climb. After about 400m, you will come across the summit of Slievemeel (420m), which is similarly non-descript and is marked by a piece of wood, however, the peak does offer some great views and is certainly worth a visit on a clear day.
After Slievemeel, you’re almost out of the heavy boggy grass, almost… Taking a 15o bearing, head for the corner of the forest, about 1km away. It’s a gentle slope downwards, but the dense heather and vegetation make it slow underfoot. Once you arrive at the corner of the forest, cross the fence and then follow the trail in front of you, keeping the fence on your left, after 200m the path dog legs to the left, continue along the fence for another 100m. Take care just before you reach the forest path in front of you, the ground is extremely boggy and the moss and grass hides water over waist deep, which unfortunately I can attest to from experience!
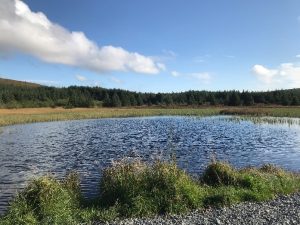
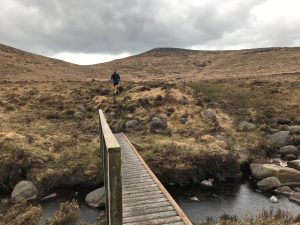
Once you reach the forest path, take a right and follow the path. Shortly you pass a pond on your right-hand side, continue on this largely level trail for about 1.25km, before dropping to a bridge, cross the bridge and then you will quickly reach a T-junction at about the 22.75km mark. At this junction take a right and continue up the slight incline. After 250m take the forest path to your left and follow this trail through the forest for approximately 700m, at which point you exit the forest at reach the open lower slopes of Tievedockaragh (473m). There are minimal paths here so it’s best to make your way up following the faint trails. The name literally translates as difficult hillside, but its not too bad really!
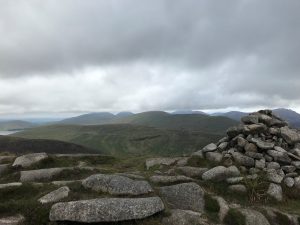
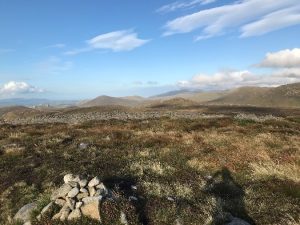
Upon reaching the top of Tievedockaragh, its back to a small cairn of stones and you can, on a good day, see the remaining four peaks spread out in front of you. From the summit, take a right at Batts Wall and follow the wall down for approx. 1km into the Castle Bog between Tievedockaragh and Shanlieve. You will see a couple of trails on your left as you descend, cross the fence and take one of these trails. You will see the rocky outcrop of Pierces Castle (467m) about 1km in front of you, follow the trail to take you to the top.
After Pierces Castle, the next peak is Rocky Mountain (405m), however, the most direct route to get to Rocky is to go over Tornamrock as well. There is a clear trail in front of you to the north that descends from Pierces Castle, at an approx. 10o bearing, the trail flattens after about 500m and the rises up again over Tornamrock. Continue along the same trail which turns left to a 320o bearing past Tornamrock and you will see Rocky 700m in front of you.

After a sharp descent, crossing the Ulster Way, a sharp incline takes you to the top of Rocky Mountain. At this point, you’ve 28km clocked up and can enjoy the great views Rocky Mountain offers.
After Rocky, you’ve just two more peaks left to tick off, but the next peak does pack a punch! Descend the path you came up, back to the Ulster Way and take a left, continue descending along the Ulster Way and after about 1km, cross the wooden bridge over the Rocky Water. Once you cross the bridge you can see the penultimate peak, Cock Mountain (505m) in front of you to the left (northeast). After the bridge continue towards the peak and you quickly come across the Rowan Tree river which you will have to cross, but there’s plenty of shallow rocky crossing points.


From here unfortunately the climb lacks a distinct trail, however, the is generally a shallower climb on the right hand (south eastern) slope so I find it best to take a bit of an arc to the right. Overall, though it’s a calf sapping slow 1.5km climb from bridge to summit, particularly given you’ve almost 30km in the legs at this point!
Thankfully once you have climbed Cock Mountain, its largely downhill from here. The summit of Cock Mountain offers nice views of Spelga Reservoir, weather permitting. There’s a clear trail leaving to the northeast towards the final peak, Slievenamiskan (443m), about 800m away. A slight descent before a gentle rise takes you to the final summit. Take care descending Cock Mountain, there are some large flat rocks scattered across the path at ground level that can be quite slippery.

After reaching Slievenamiskan, take a moment to enjoy the end of the climbing work before you begin your trip back to the car park. Take a bearing to the east, aiming immediately to the left of Spelga Dam. There is a path that crosses directly underneath the dam, passing a private house on your left and the dam on the right, which leads you back to the Spelga Dam car park.

READ: Ballycastle Forest: A convenient woodland walk
Find Out MoreFor me personally, these two stages of the Denis Rankin Round offer so much. There’s a huge variety of terrain, from stony trails, forest trails to bog and steep rocky technical slopes to rolling grass meadow slopes. There are also some fantastic views along the way and you really get a sense of wilderness in some of the remote sections. The route is suited both as a long hiking route and as a long trail running route, however, it does require a high level of navigation at the best of times and even more so in poor light and/or poor weather.
Having done this route in both summer and winter and both as a hike and as a trail run, it is suitable for all seasons. However, timing is important, in poor winter weather this route could take 10-12 hours, so it is important to ensure you have adequate time to avoid being out in the dark. Of course, as noted in the introduction, you could break this route up with two cars, which would allow you to do either the 16km stage 3 or 16km stage 4.
Given the length, terrain and navigation requirements, a high level of fitness is required alongside with good navigation skills and experience. Take care around Crenville, Slievemeel, The Castle Bog and the Windy Gap as they can very wet and boggy particularly after periods of wet weather. As always, a map, compass, sensible clothing, and footwear are essential.
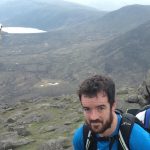
Andrew Goulding, 32-year-old civil engineer living in Belfast. Adventure racing, trail running and hiking enthusiast. Currently progressing through Mountaineering Ireland Mountain Skills courses and training for attempts at the Mournes 600 and 500 in summer 2021. Insta: @thegreenmountaingoat.
Climbing Slieve Binnian from Carrick Little (for novice hikers)
Denvir’s of Downpatrick: The Perfect Base for Walkers and Explorers in County Down
5 Outstanding Late Winter Hikes in the Mourne Mountains
Willowtree Glamping: a Romantic, Rural Retreat in the Mournes
 Belfast,Photography
5 scenic walks around Lisburn
 Mourne Mountains
Bearnagh: Chased the sunset, caught the rain
 Mourne Mountains
Camping in the High Mournes
 Fermanagh and Tyrone
Cuilcagh: Stairway to Heaven
 Features
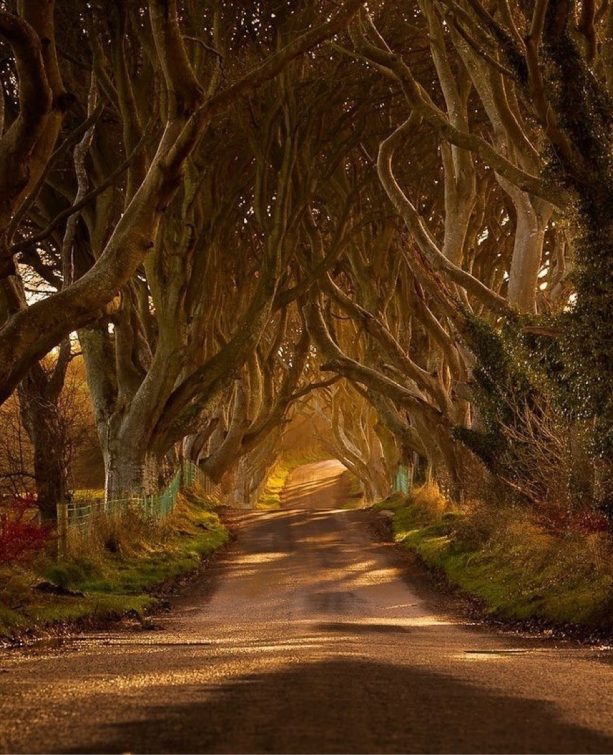
Every Game of Thrones Location in Northern Ireland
 Mourne Mountains
Hen and Cock Mountains
 Mourne Mountains
Leganabrachan, Millstone and Thomas: Donard’s Seaside Bodyguards
 Mourne Mountains
Percy Bysshe and Cove Caves