Belmore Court: Your next best stay in the West

Would you like to sponsor this article?

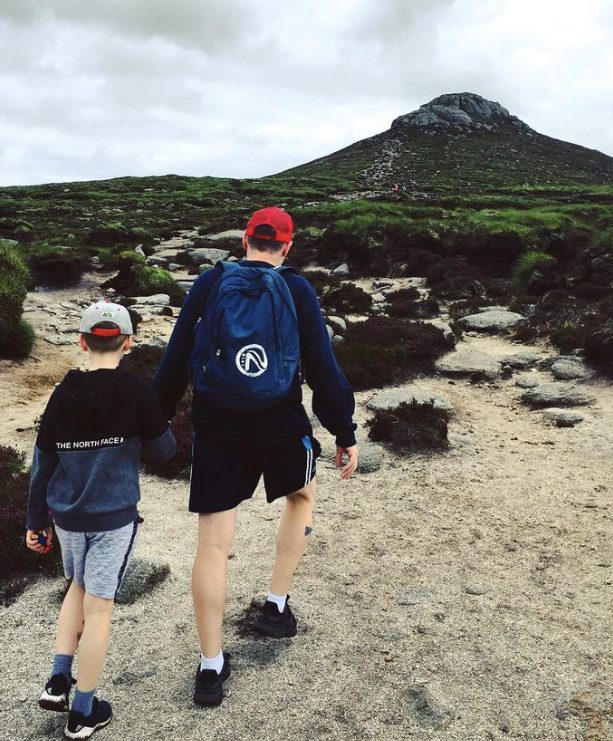
Fancy an overnight camp on Slieve Commedagh? Aidan Parry’s got you covered…
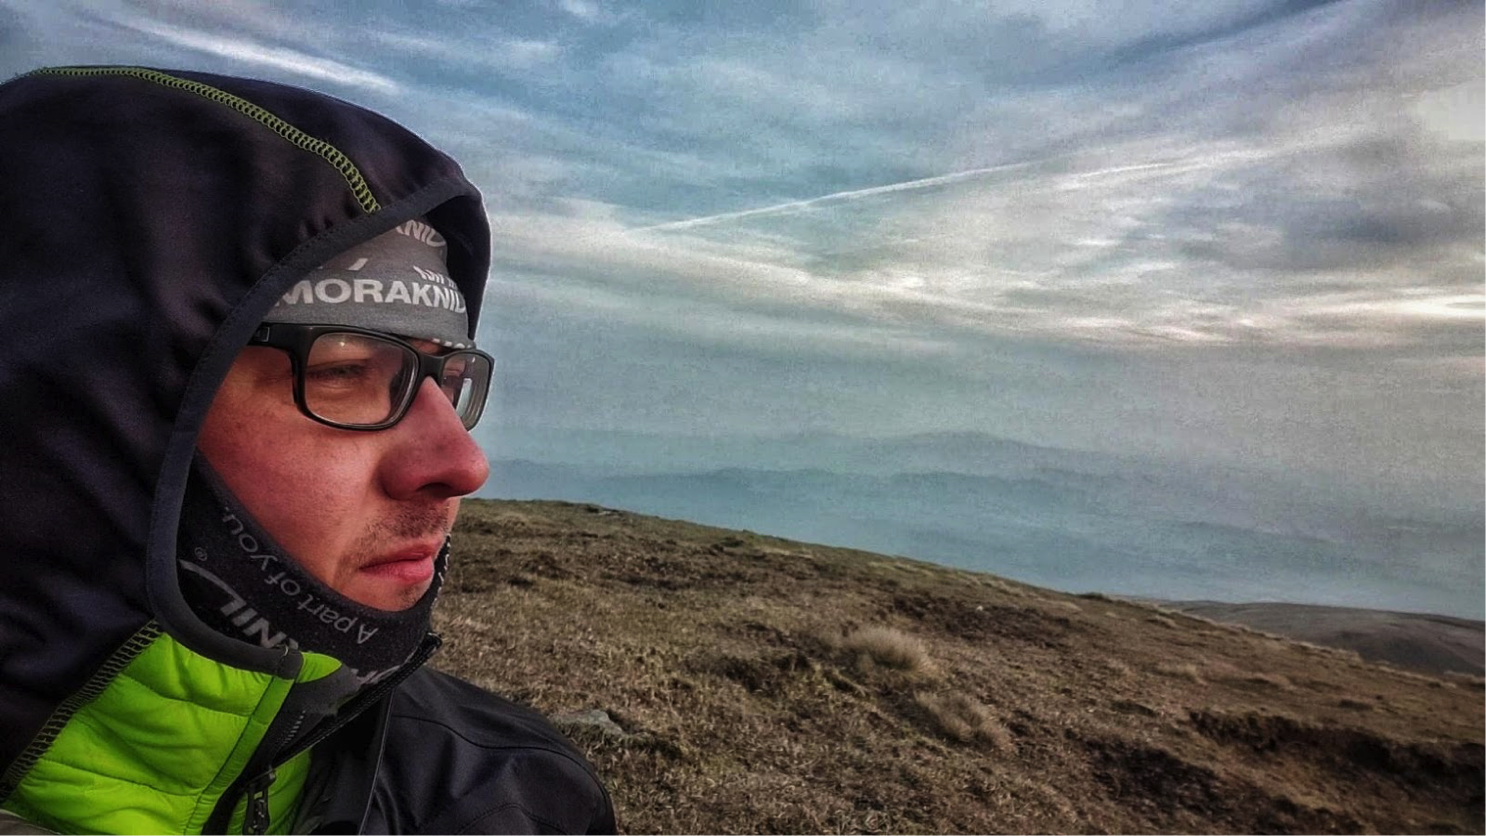
I’m a busy person. I work long hours, married, have two young daughters and I ain’t got much time on my hands. When I see the opportunity to be in the mountains, I’m gone! I had a short window of time from I finished work on Saturday until around Sunday lunch time when the family were getting together for a meal. Now luckily for me I pretty much live at the foot of the Mourne Mountains, so this is very achievable.
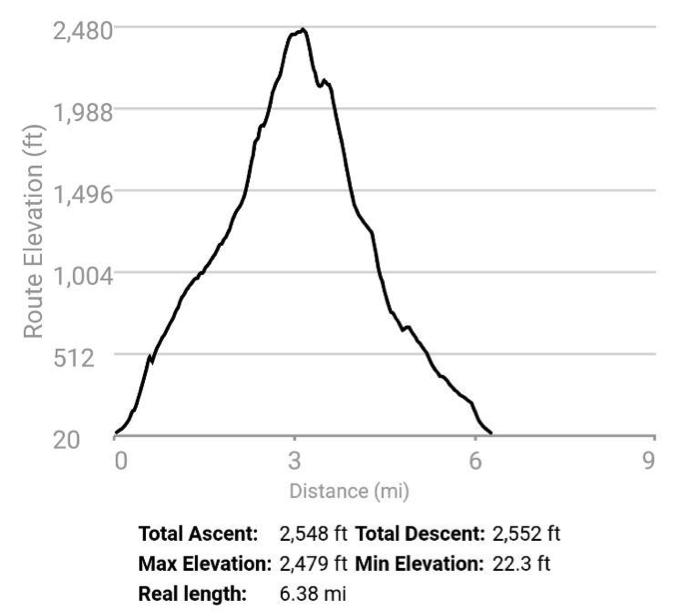
I checked the weather forecast for the immediate area and it was good, giving clear skies, no rain, decent temperatures and low winds. Game on! All I had to do now was plan an overnight hike and camp.
I needed a quick route, one with access to water, somewhere semi-decent to leave the car and one that I could just relax by myself and hope for a great sunrise. Slieve Donard came to mind first but then I remembered it was Easter weekend and there would more than likely be a queue to get to the summit! What about Commedagh? It’s a quick route and I can make it a loop so the return trek from the summit is different and again will avoid most of the Easter hustle!
So Commedagh was pinned for the location – how would I spend the night? Tent? No, too much fuss, bulk and weight. Bivvy? Why not! I knew from previous hikes that there was plenty of opportunity on and around the summit for great bivvy spots.
Food and water? I’d eat before I left work so that was dinner sorted, a chocolate bar for a snack on the summit along with another for emergency and a sausage roll for breakfast…sorted! I’d take the 2ltr water bladder, plan to have 1ltr drank by the time I get to the last river crossing just before the saddle where I can top up to 2ltrs again which would be more than enough for hydration and a coffee.
Planning like this is key in my opinion. Pre-plan, set the plan then check that plan again, regardless of how difficult your hike is or your level of experience. This way you’re covering all issues and reducing the chance of failure and danger.
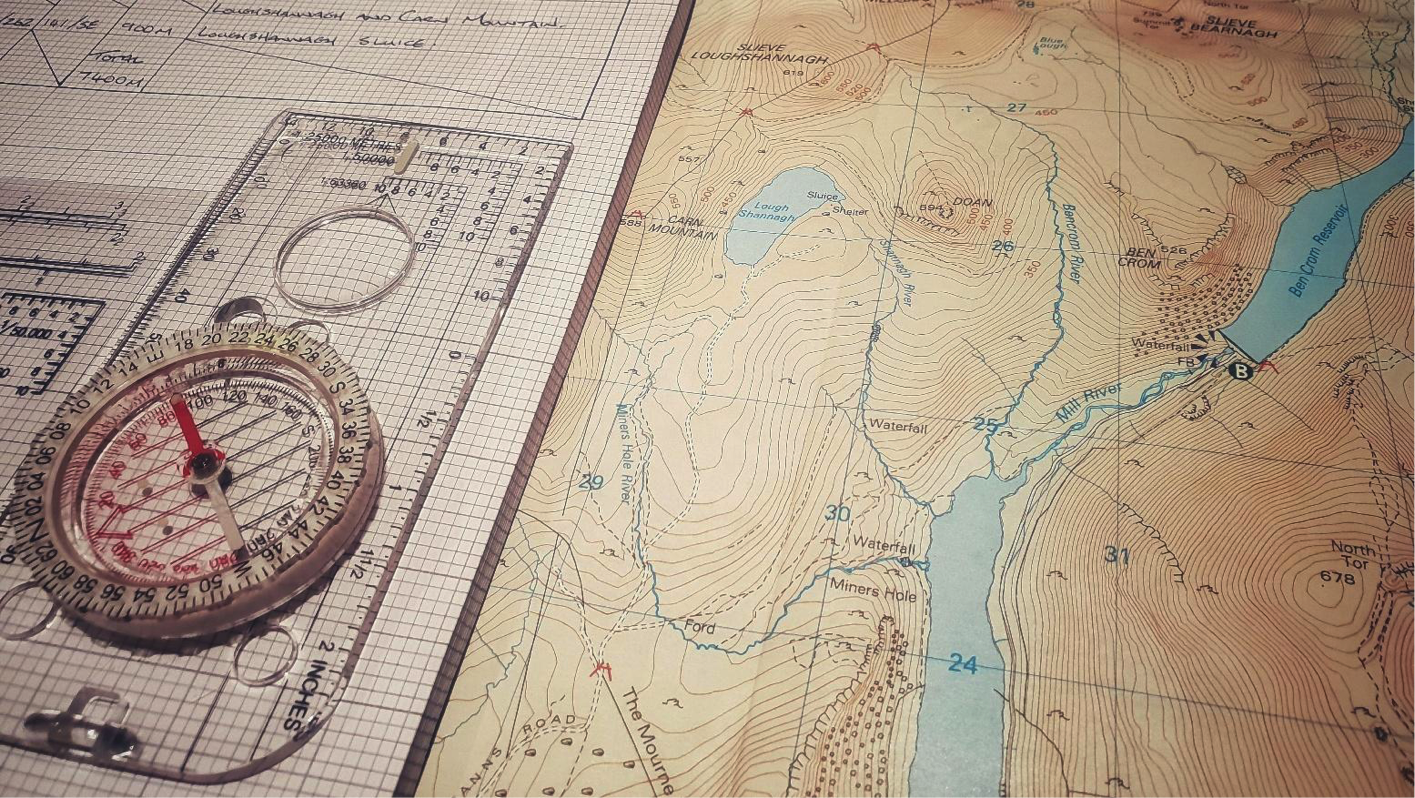
I use an app on my phone alongside my OS map to plot my routes. The app I use is called Viewranger – there’re a lot of apps out there but this is the one I’ve used for a long time, I’m used to it and it works for my requirements. I can view the area from above and work out my coordinates for a physical route card with the OS map.
It enables me to see landmarks and obstacles more clearly than just the OS map and gives me a few details on elevation and distance is a lot easier. It’s also a good tool so I can screenshot it and send it to a few people that I regularly keep in touch with while on a solo hike or overnighter as a safety practice. I leave a copy of my route with my wife and my father who has hiked in the Mournes all his life.
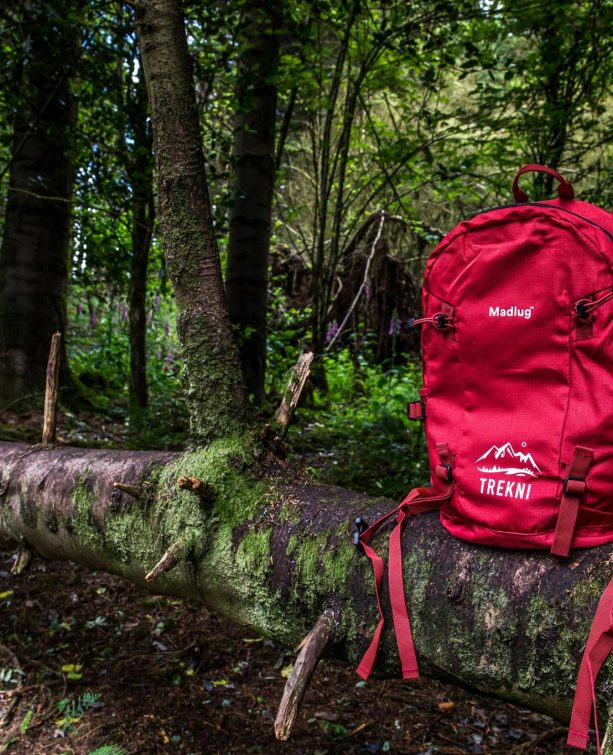
So I’ve planned, my route is set, now is when I lay out my gear, which depends on all previous planning and weather reports etc. I opted for the DD Bergen which will hold a minimal mountain overnight kit but wouldn’t be the most comfortable for longer treks. It’s no mountain pack but it holds gear and until I source another small pack it’s all I’ve got that suits a trip like this.
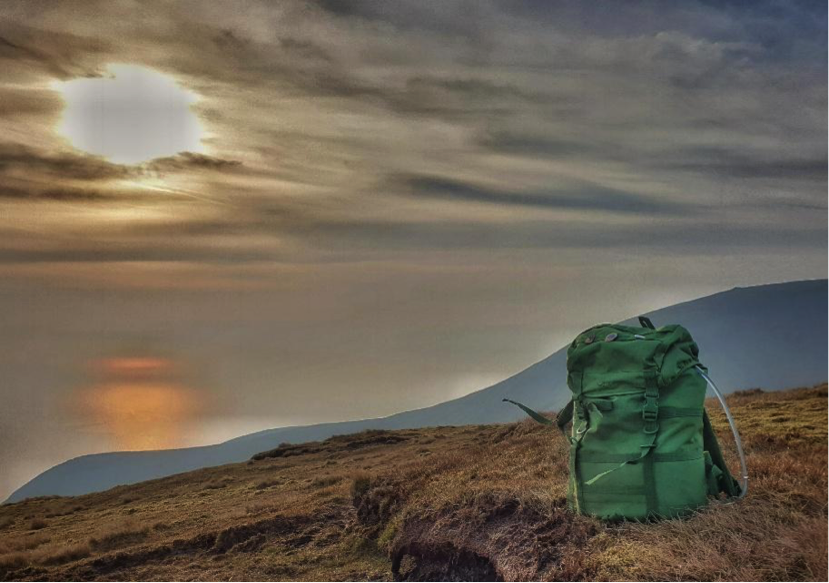
I decided on a bivvy setup so my American forces MSS bivvy was the first choice. That thing is awesome, very waterproof, hard-wearing and compacts quite well. Hard to get at a decent price in the UK and Ireland but well worth the money. Just recently got a Rab 400 sleeping bag courtesy of my good friend Steve Barrett (The Trekking Woodsman on Facebook) so that needed tested and was lifted out to be packed. Both the bivvy and the sleeping bag compacted down to a little bit larger than a rugby ball squared off.
A pocket tarp / groundsheet would act as a footprint for the bivvy. It compacts to the size of a large orange so it fitted perfectly in my cup. It protects the bivvy a little more and is handy for sitting on and laying gear out on so it’s not laying on the ground.
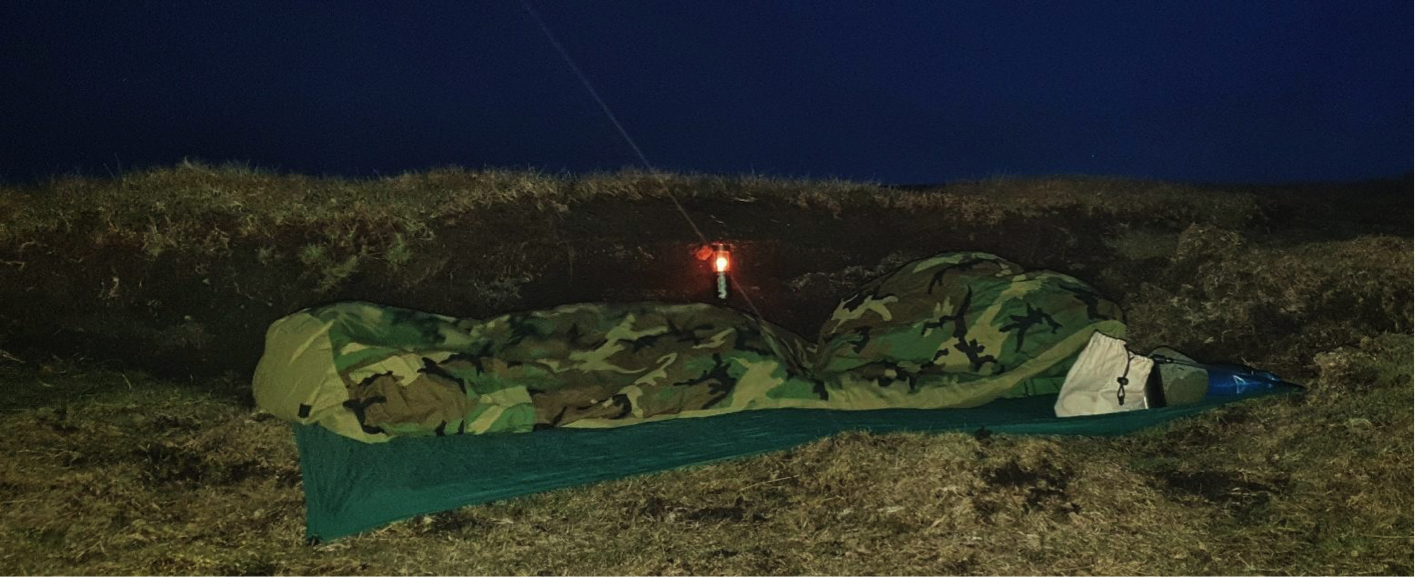
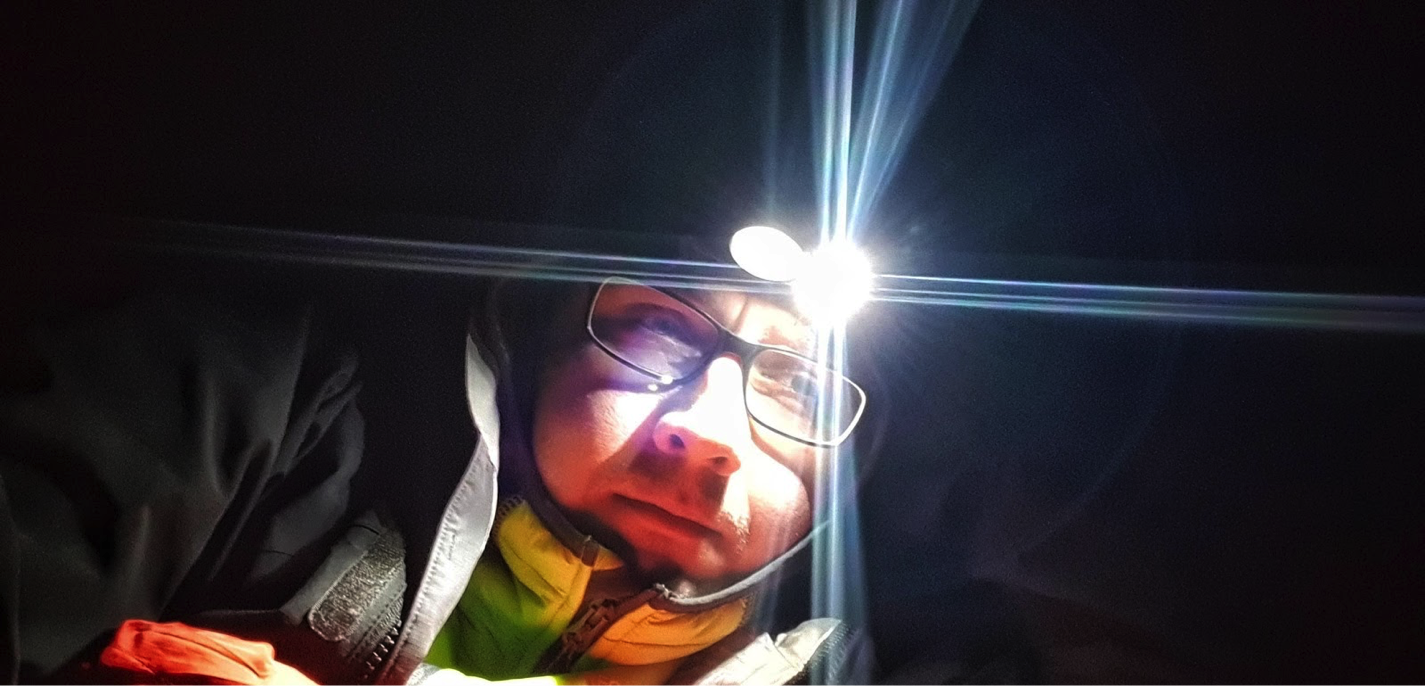
A lightweight gas stove and a stainless steel canteen mug from Pathfinder would do the trick for boiling water. I use the Coleman extreme weather gas and have never had any issues in any conditions. I also add to this part of the kit my UCO candle lantern which will burn for around 9 hours depending on conditions. Having the warm glow of a candle on a mountain summit in the dark is a big luxury, it’s amazing the difference it can make, it allows your eyes to adjust to the dark, saves your main illumination device and can actually make you feel warmer at times. My main illumination was a UCO Vapor head torch.
A regular simple first aid kit which caters for most minor injuries, teamed up with a gear repair kit goes straight into the top of the pack. I also keep personal hygiene items along with the first aid kit such as wet wipes, medicated talc for the feet and a little tube of toothpaste.
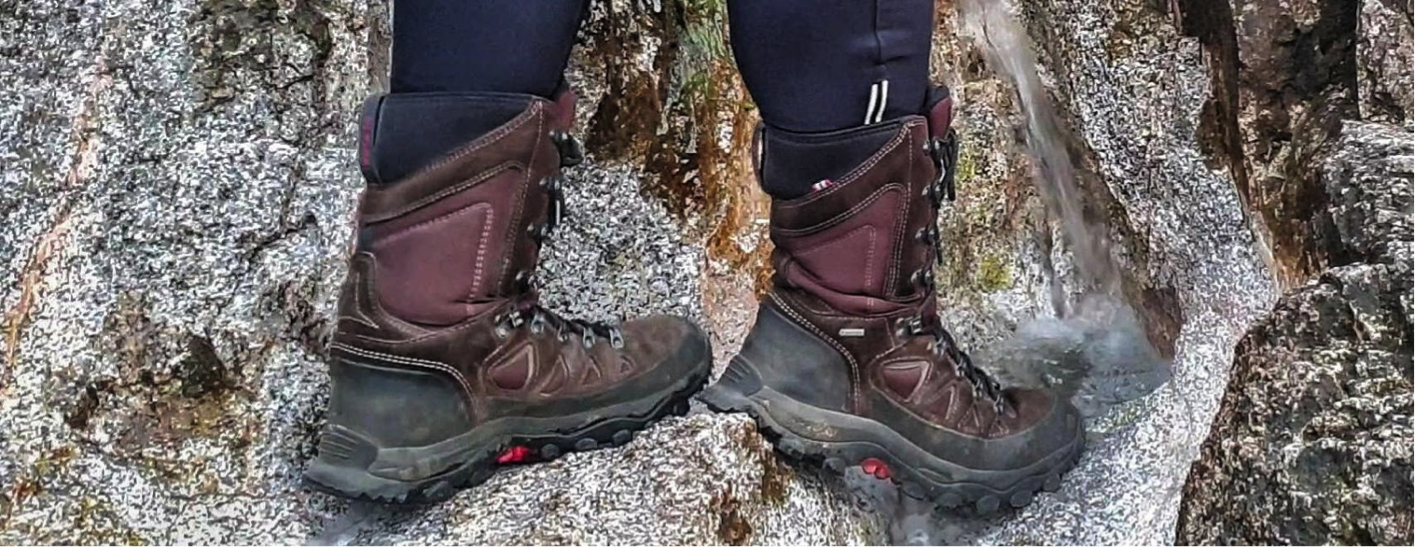
Moving onto clothing then, I start with my footwear. Merino wool socks that I wear all year round perform brilliantly for me, they breathe, they don’t rub, they regulate temp and I just can’t not wear them now! My boots are Viking Villrein GTX, from a Norwegian company dedicated to hunting, hiking and general outdoor activities. I’ve had these boots for over a year now and they’re unbelievably good. Not cheap but you’re feet are certainly worth it.
Trousers are just generic cross country running trousers. They breathe well, regulate temps to a certain degree and they give great ease of movement. My base layer on the top I went for a lightweight synthetic running tshirt designed to wick sweat. Then a mid layer would be the Regatta Andreson 2 Hybrid jacket which combines synthetic down quilted material with a fleece material. My outer layer was then the Rab Bergen Mountain Jacket which is seriously impressing me at the minute.
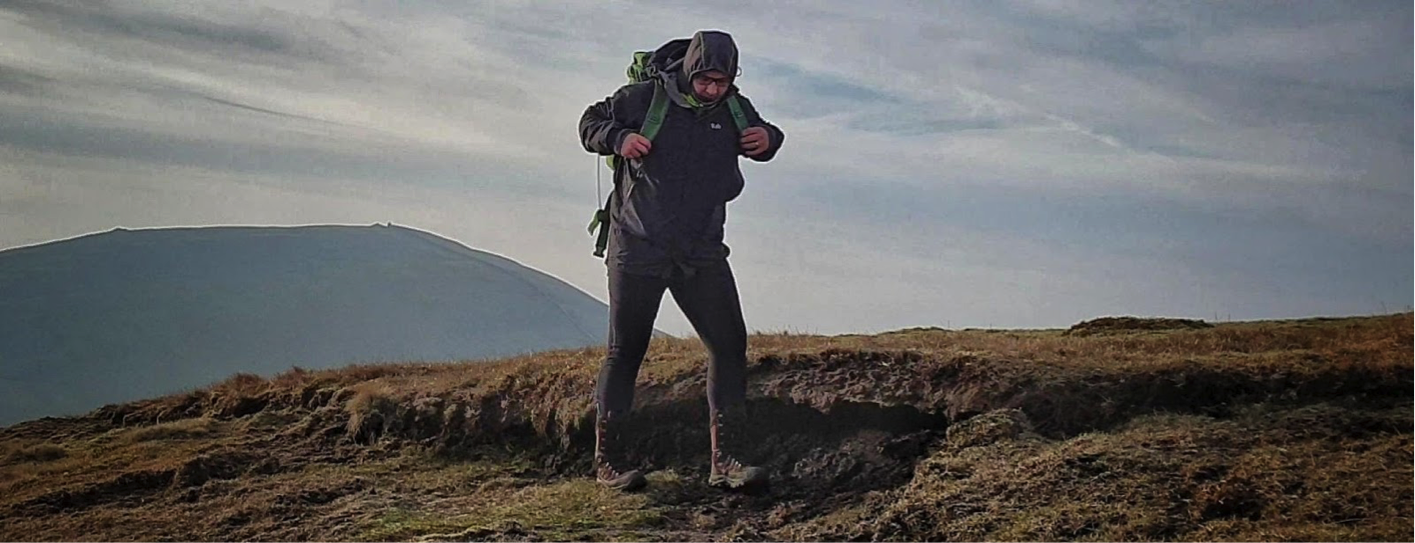
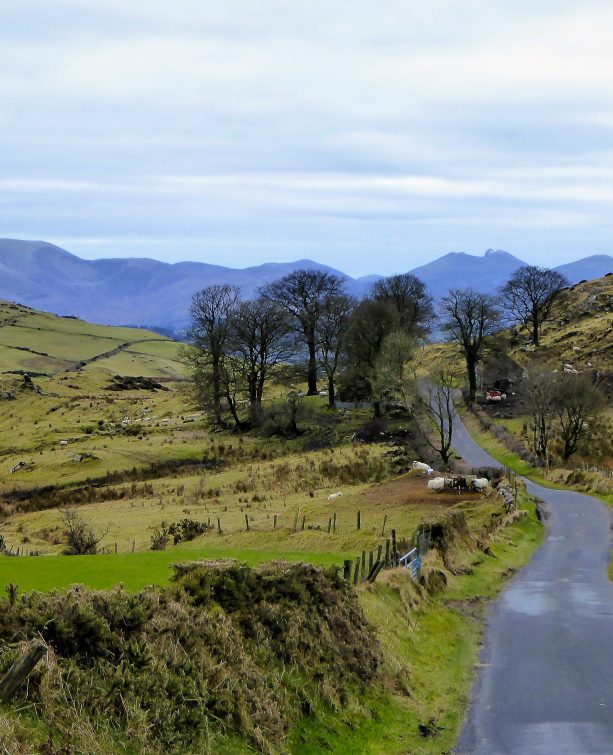
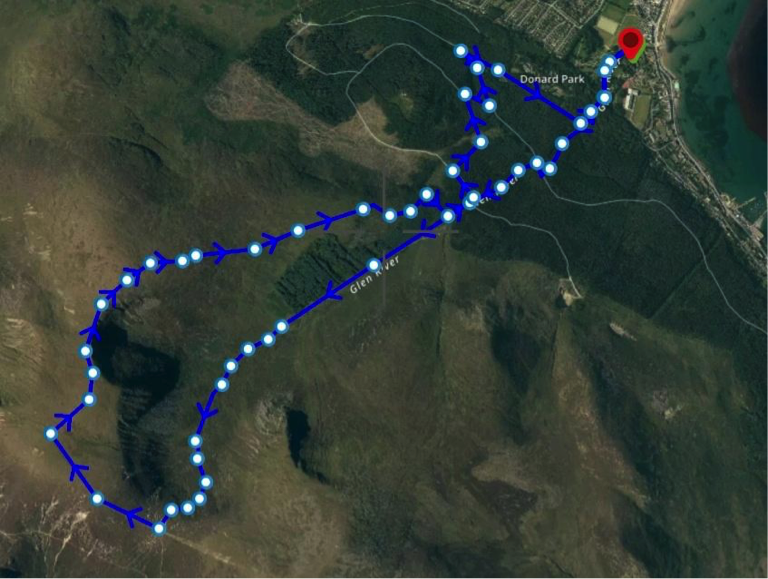
So it’s time to put boots to ground. I get to Donard Car Park on the Saturday evening. An awkward change of clothes in the back of the car, boots on, pack secured and on the back and I’m off.
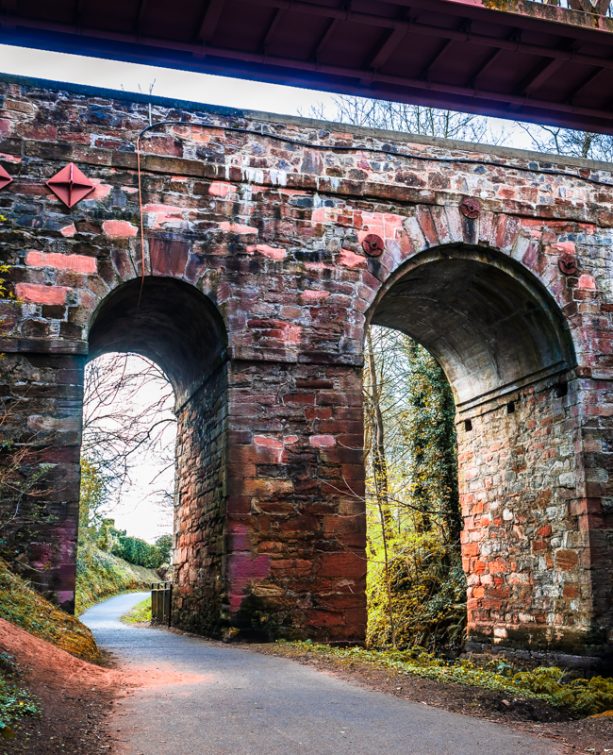
From the car park I headed straight for the Glen river track. You enter the grounds of Donard Forest with a large field on your right and the river on your left. There’s a small opening into the forest and suddenly the outside world disappears and the senses change completely. The track is very easily identifiable at this point and a few minutes later and you’re at the first bridge.
The track crosses over the bridge so the river is now on your right with a beautiful well known view of the natural river cascade. The first section of this track is cobbled, care is required here if wet as the cobbles can be extremely slippery. You soon come to an opening where the track veers left through a gate but if you look closer to the river you’ll see where it also follows up hill. It’s the more difficult of the two that you need to follow unfortunately! So keeping the river to your direct right head up the incline over the rough terrain where again care is required here due to the rocks being slippery even when dry. This section in my opinion is probably the toughest as you hike through the forest.
A second bridge emerges with metal railings. This is a good spot for a first rest if needed as there’s plenty of room for other people to pass with ease.
From here, you again swap sides, cross the bridge so the river is now on your left and carry on up the incline. You’ll soon come to where a lot of deforestation has occurred. The trail can become hard to follow here but as long as you keep the river within 50 feet to your left you can’t go wrong. This section is also renowned for slips and trips with large rocks and unearthed tree roots so again care is needed.
The third and final bridge appears and you’ve almost reached the top of the forest. Continue up the obvious trail with the river still to your left and you’ll see a wall to your right and the Ice House to your left which is situated on the far side of the river at the top of the steep bank. More information on this amazing structure can be found at the third bridge on an information board.
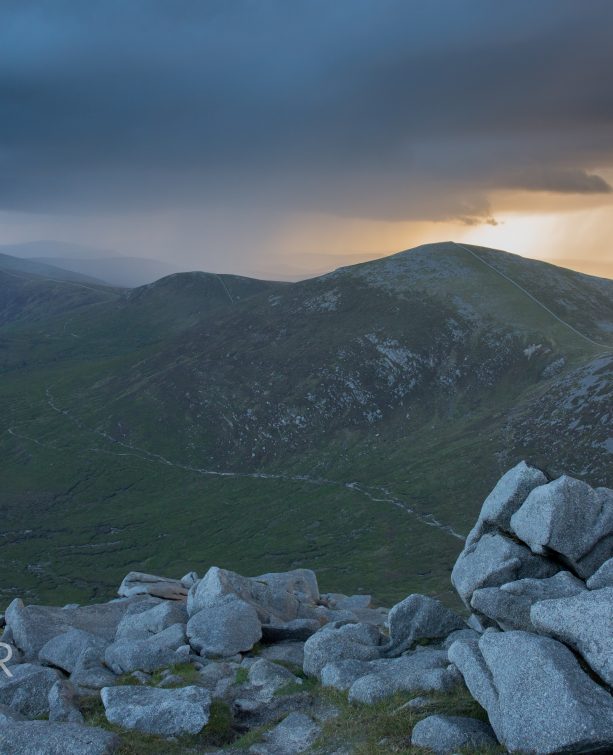
This is where you exit Donard Forest and step onto the mountain. Keeping the river to your left and the upper reaches of the forest to your right you follow the trail over the uneven terrain all the while gaining height. It’s well worth stopping at points here and looking back to see the view as civilisation slowly disappears behind you. With Donard and Commedagh now starting to loom over you the upper reaches of the forest become more sparse and wild before stopping abruptly and the Pot Of Pulgarve opens up on your right like an amphitheatre.
The trail closes in on the river again and soon you reach a river crossing, just watch your step here. The trail can be misleading so pay close attention if the visibility is poor. If clear you can look towards the saddle and see the trail curve up just out of sight, it looks very daunting at this point but it’s really not that bad once you’re on it. A second river crossing appears towards the upper part of the curved trail. This will be your last water source so top up now, a good chance for a break before you crest the last section of trail towards the saddle.
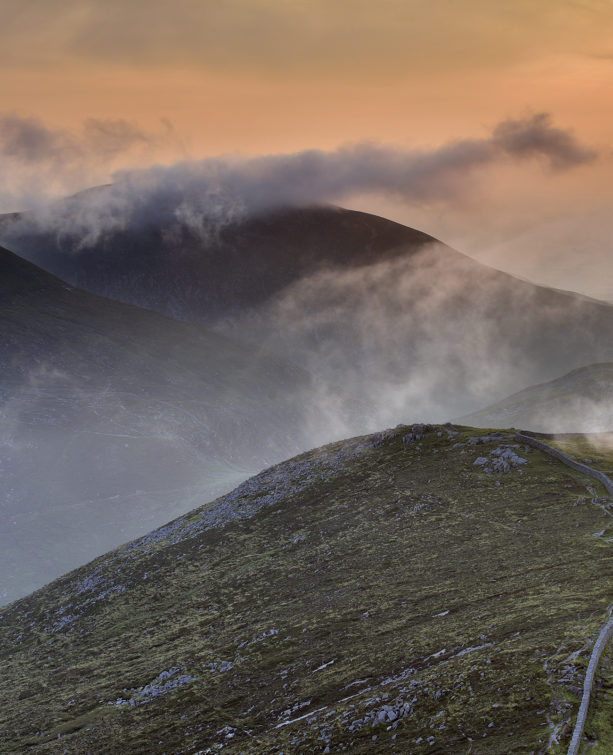
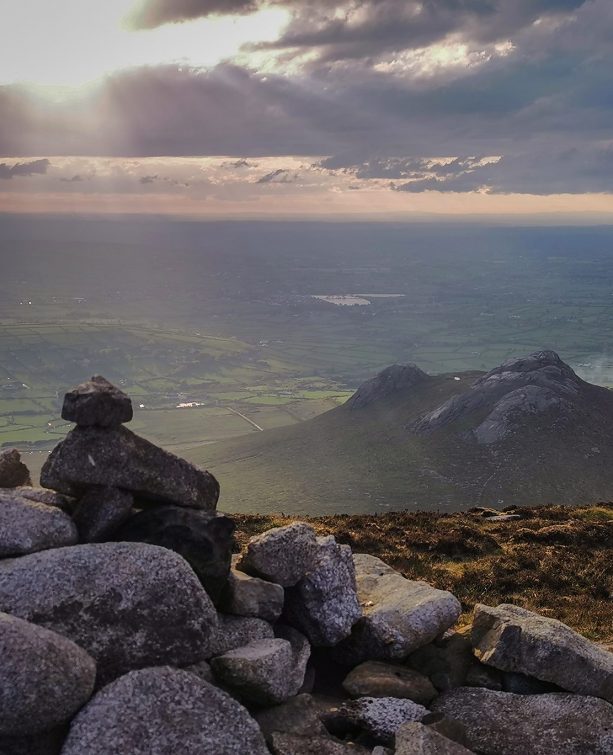
As you crest the saddle everything changes, the wind slows, noises change and the ground even feels different. You step up onto the stile on the Mourne Wall and as your head clears the granite structure you catch the first glimpse of the Annalong Valley with the Devil’s Coachroad over to the right. If it’s your first time you may want to plan a good break at this point as it really is breathtaking. To this day it’s a view I’ll never tire of.
Once you’ve caught your breath and admire the scenery it’s time to tackle the main ascent. Stay on the lee side of the wall if it’s windy and stick close to it. Follow the wall and you can’t go wrong here. There are a few low spots around the 5 foot mark that allow glimpses of the scenery to the south if you have chose to stay on the northern side. You’ll come to an area where the incline slacks off and it almost flattens out, almost!
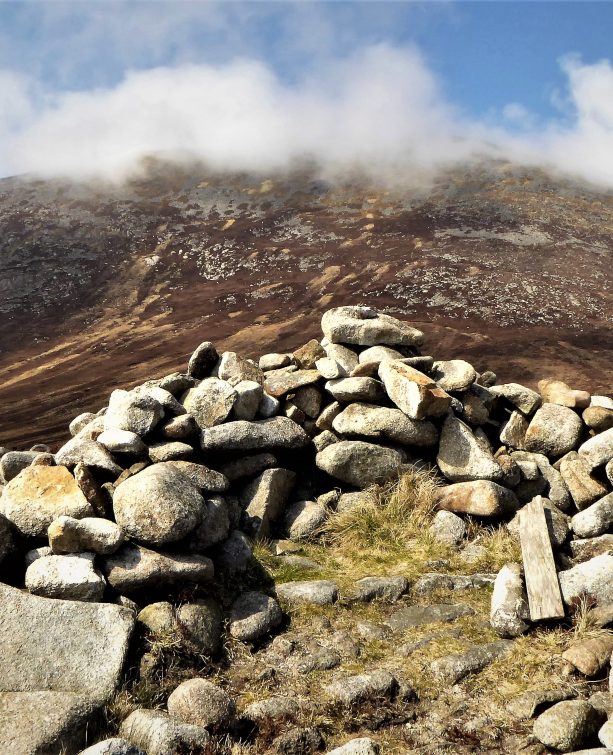
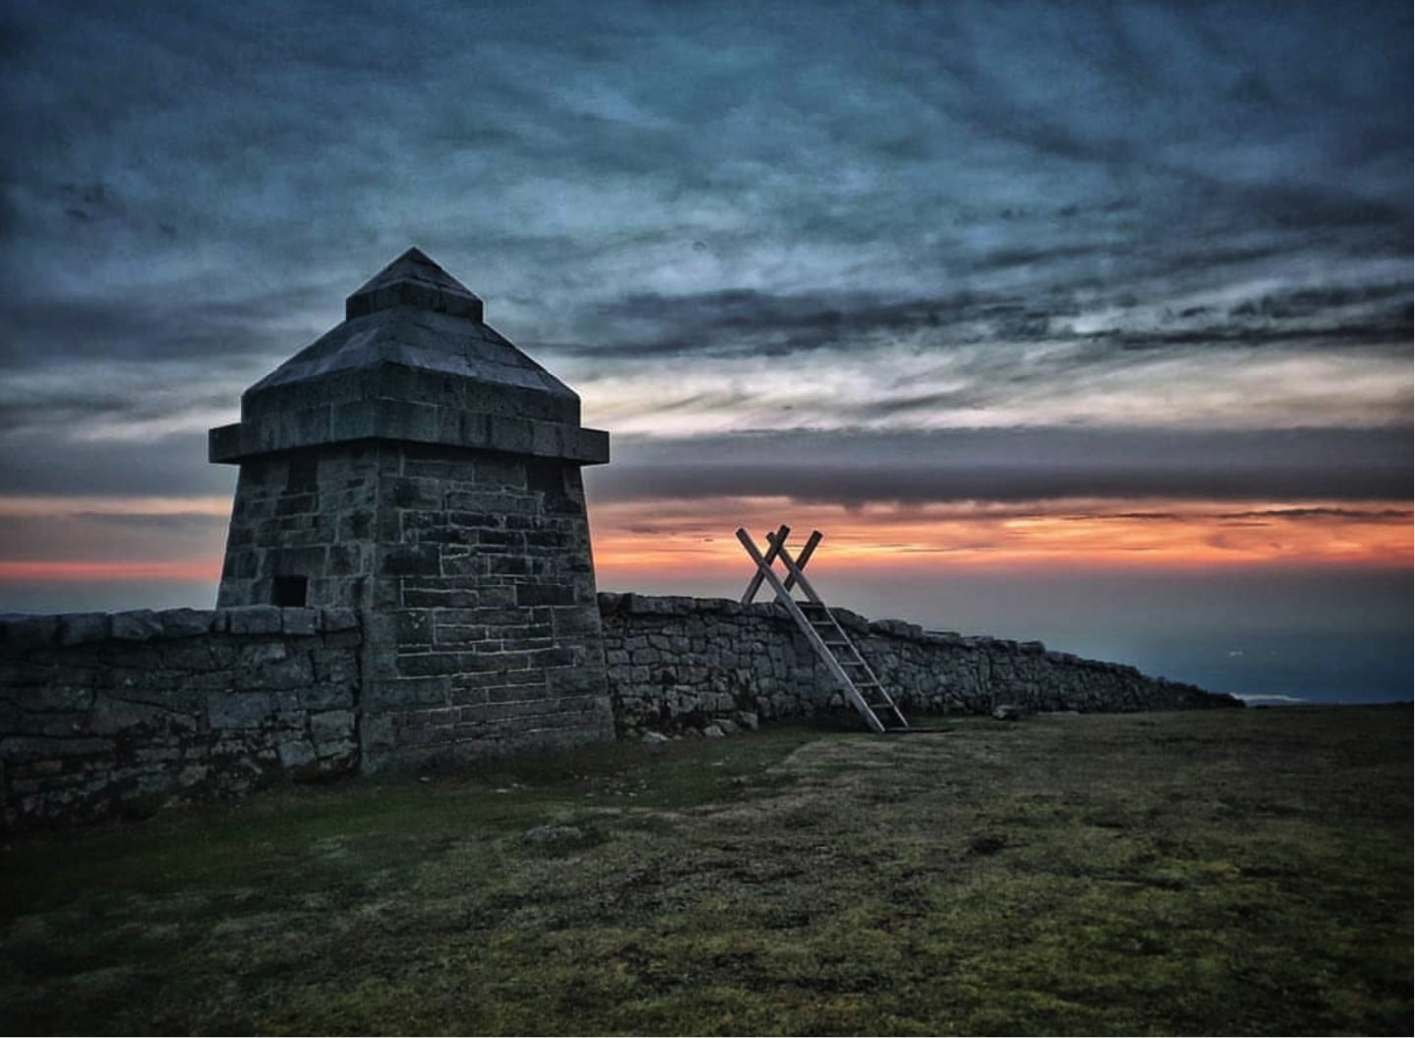
Then we take on the final push for the summit. Which doesn’t look like much but it’s a leg drainer if you’re not used to it. The summit of Commedagh is a very open sparse place. If it’s windy you’re gonna know about it so be careful as you go. Once you reach the granite shelter on the Mourne Wall look immediately to your right and you’ll see the cairn or if visibility is poor just follow the small track towards it.
Once you reach the cairn you’ll see the track head towards the northern slope, a lot of care is required here, especially in poor weather. The northern slopes of Commedagh houses the Pot of Pulgarve. A large steep sided crater like gouge on the side of the mountain. Due to the summit of Commedagh being so flat, this often catches people out and there have been many accidents here with people trying to descend into the Pot. Stay on the visible track that follows the ridge of the Pot which then leads onto the lower slopes of Commedagh or Shan Slieve to give it its proper name. Many people just assume Commedagh slopes down into Donard Forest and Tollymore Forest but it actually leads onto Shan Slieve.
Once you’ve passed the Pot, the track becomes harder to follow so keep an eye ahead if possible as you near the upper reaches of Donard Forest. Further down out becomes a little more difficult manoeuvring through a boulder field as you make your way to the side of the forest. You’ll see an opening in the fence with a stile right at an inner corner of the forest. Once you’re into the trees you’ll see an obvious track to your right leading down hill. Follow this as it meanders slightly left as you continue to lose height. It’ll bring you to a wall, follow the wall until you reach the main Glen River track just opposite the Ice House. A short walk down hill and you’re back at the third bridge on the Glen River. From here it’s just a reverse route of how you came up the track.
Not a difficult hike by any means but a very good starting point for anyone interested in getting involved with hiking and hill walking. This route can easily be done in a few hours weather depending and the views are something that needs to be experienced through the eyes and not just a lens.
Happy hiking folks, stay safe.
You can follow Aidan on Facebook.

Hiking in the Mournes for over 30 years has given me a close personal connection with the place I call home and with the nature, history and beauty that comes with it. Writing about it is just another way of walking the route twice, but drier!
 Belfast,Photography
5 scenic walks around Lisburn
 Mourne Mountains
Bearnagh: Chased the sunset, caught the rain
 Mourne Mountains
Camping in the High Mournes
 Fermanagh and Tyrone
Cuilcagh: Stairway to Heaven
 Features
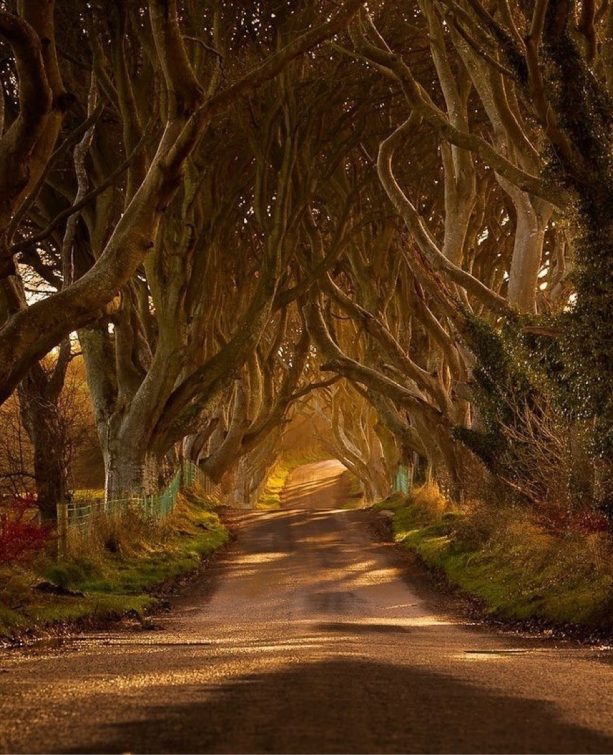
Every Game of Thrones Location in Northern Ireland
 Mourne Mountains
Hen and Cock Mountains
 Mourne Mountains
Leganabrachan, Millstone and Thomas: Donard’s Seaside Bodyguards
 Mourne Mountains
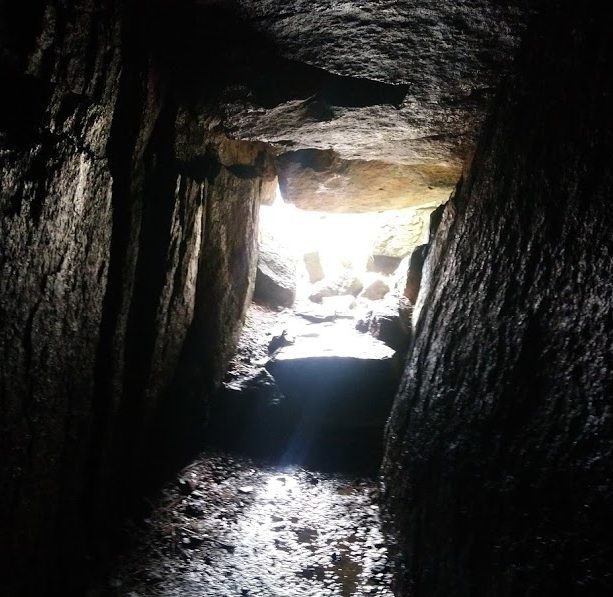
Percy Bysshe and Cove Caves